| | | |
“The more things change, the more they stay the same” is so true in my life. With my last brick project pretty well finished up, I was searching my picture files for some early shots I could use for comparison. I can spend hours just reliving the past viewing those pictures. I decided to be kind to myself and only go back to 2000!!!
The year 2000 was when I poured the cement pad to my driveway, built the wooden gate/fence and poured the sidewalk to the existing pad that was at my back study door. It was May 29th I poured out that cement according to the date scratched into the surface. The two bricks Judy got me from Niagara Falls Blvd are incorporated into this!
I’ve have always envied those people who have a vision right from the “get-go” on how they want things to be. In my case things seem to evolve which can end up causing much more work and aggravation.
It was in 2001 I got the idea to install a walkway to my workshop from the driveway to make it easier to get my 1988 Lowrider out of the backyard. Oh my god: how many bags of cement did I mix that spring?
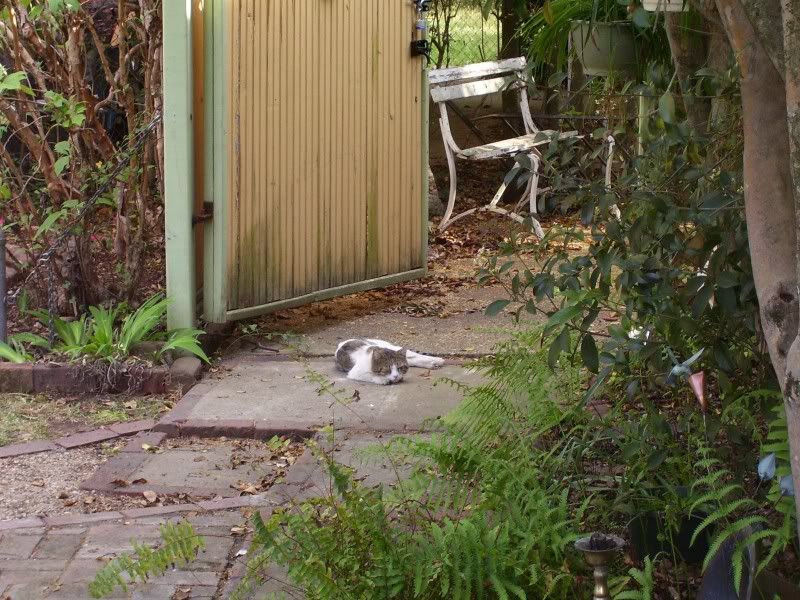
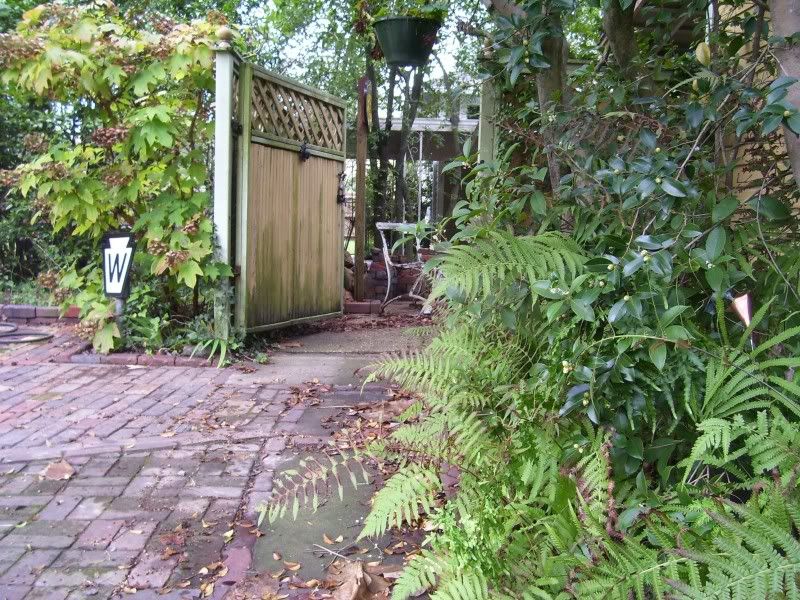
Here is a shot showing the many different levels of patios and walkways I had to contend with. This is a kitty who used to visit Stumpy!!
All those levels and odd angles made my “tits itch”. As Ron aptly coined me, “That Jimmy is like a squirrel in a cage; he just keeps going round and round and round.” In 2009 I got the bright idea to revamp that mess.
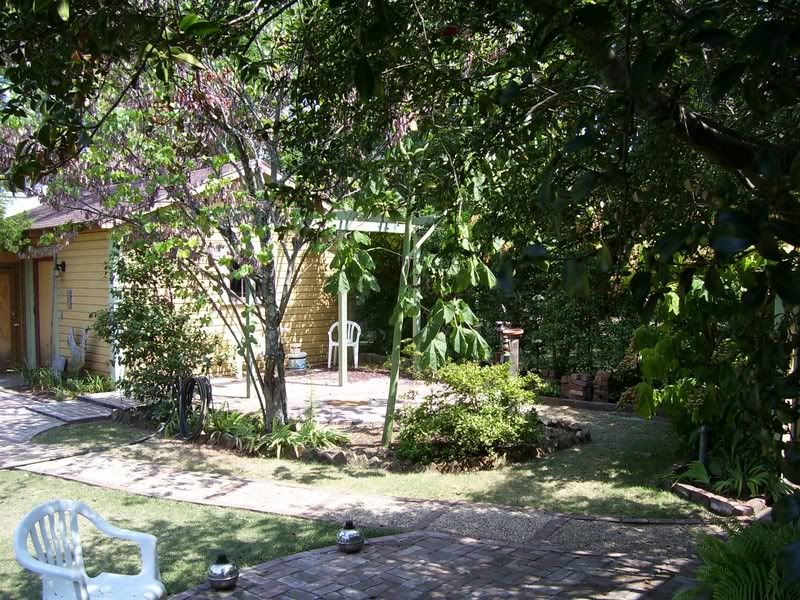
Overall shot showing the sidewalk.
Busting up those old pads:

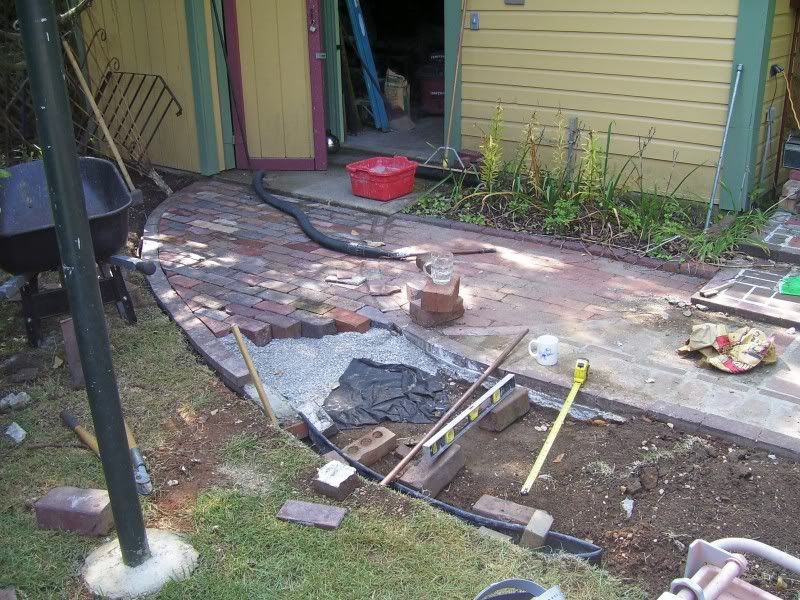
Laying out and building the extension:

Showing the how the new patio met with the existing sidewalk:
The finished extention:

This is a shot I tried to duplicate of the first in this series taken this morning:
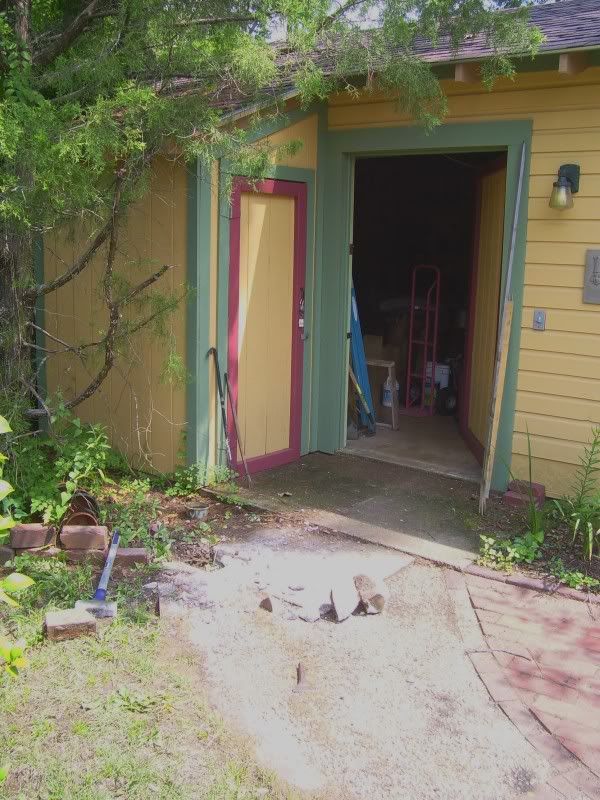
I lived pretty happily with this configuration until the mess at the workshop end of the sidewalk started to bug me. I knew I would not rest until I ripped out that sidewalk I installed ten years previous.
These shots show the many different levels at the workshop end:

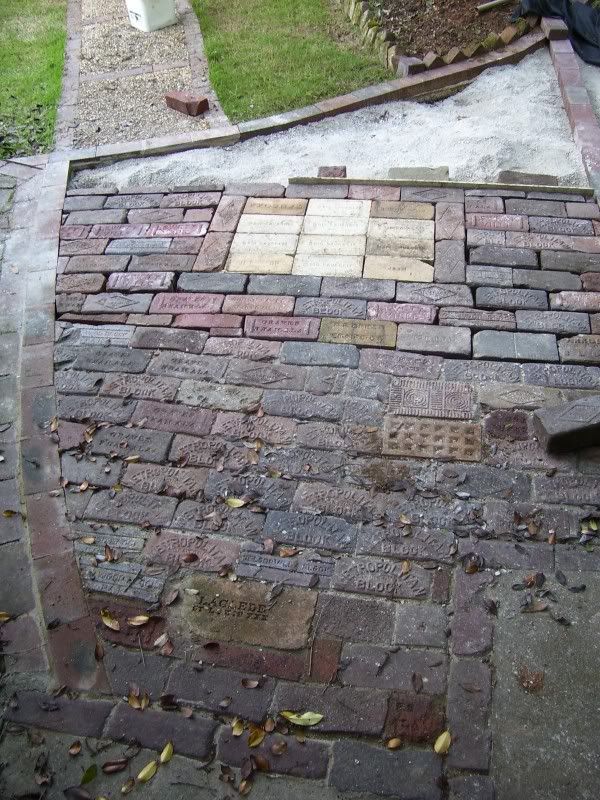
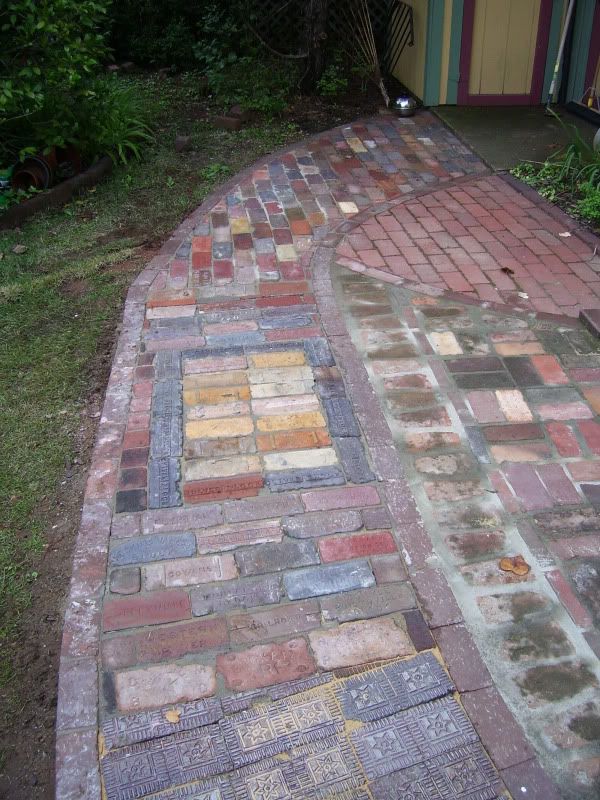
Installation of the new bricks:
Because these bricks were a “hodge-podge” there was no uniformanity in size. This makes laying these out an extremely labour intensive proposition. I tried to get a picture to show the assemblage of bricks in the mock up stage to show the differences in brick height:

The Nelsonville Star Pavers though were a dream to install as they were all the same size.
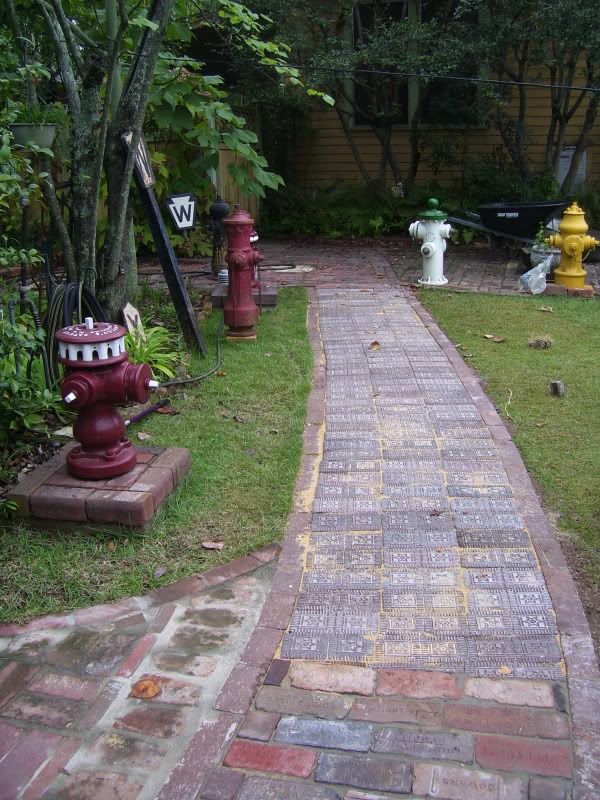
The new installation looking to the workshop:
Looking towards the house:
The street paver bricks are laid with a "sand topping mix". This is a mixture of sand and cement. It is swept between the cracks and then soaked with water. This makes a pretty permanent installation, and prevents weeds from growing through. It is a royal pain in the butt though as the residue also fills all the details of the bricks you want to expose. Using a shop vacuum you have to work fast as the bricks are kept wet to suck up the residue. The results are great, but it is so much work. Those gel knee pads I splurged on years ago have paid for themselves many times over! The Star Pavers I did not set with the sand/concrete mix. I just have sand between the joints. They are a valuable brick which may be salvaged and moved again when I'm long gone from here.... I’m worn out from this project. It is safe to say I will not be undertaking another task of this scale for a while!
Just digging up the pictures for this entry was a chore.
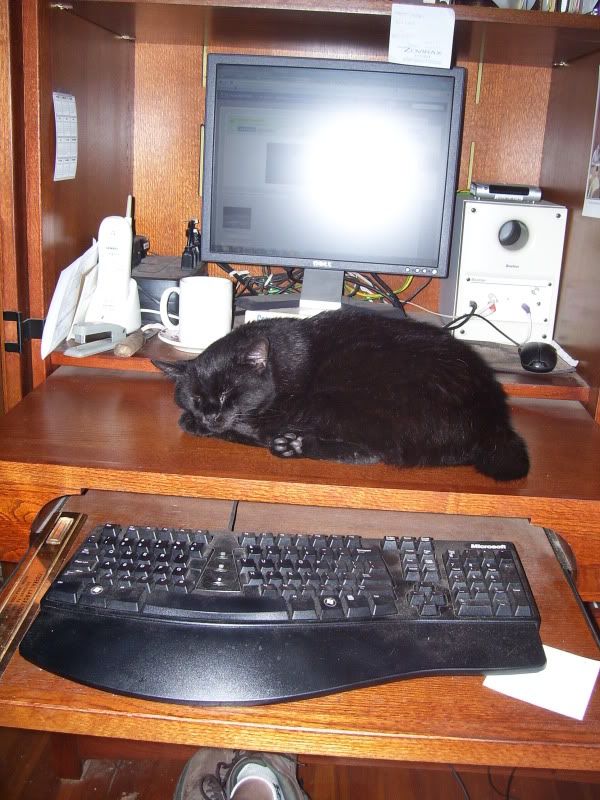
Cats have their routines of their favourite spots. Stumpy has his routine now where he loves to spend the mornings sacked out on my computer desk. It is awkward to use my mouse around him, but lets face it; he is the one who calls the shots here!