| "Piddling" With Bricks | Sunday, August 12, 2012 |
I'm not sure if "piddling" is a southern term or not. It was one of Ron's favourite expressions when he worked in the garden. It means to work and fuss at jobs. I suppose I could Google the term, but I'm tired of fact checking things all the time!
The evenings have cooled off to the point where I need my old wool blanket to curl up in. Daggy is snuggling up in bed with me again. It seems a bit early but it almost feels like the first touches of autumn are appearing. Compared to June and July, August has been very comfortable. I am not complaining!


The evenings have cooled off to the point where I need my old wool blanket to curl up in. Daggy is snuggling up in bed with me again. It seems a bit early but it almost feels like the first touches of autumn are appearing. Compared to June and July, August has been very comfortable. I am not complaining!
Friday, the brick delivery was scheduled for “after lunch.” I was told the driver would call me an “hour out” to give me warning. I had been so apprehensive over this entire transaction. The phone rang at 4:00 p.m. It was the driver telling me he would be at my house in 15 minutes. I had specific directions to make it as easy as possible. He was driving an 18 wheeler which can’t navigate certain sections of my street. I had the parking spot in front of Michelle’s house blocked off. The back end of the truck lined up perfectly to my driveway. It is a good thing I gave this trucker directions as the bill of lading had the wrong address. They left a digit off the house number!
The seven pallets of bricks were in the front of the trailer. I was the last delivery. We were able to get four pallets up the driveway, and the other three were parked in the street. For all my apprehension, the unloading went very fast. I’m not comfortable having the bricks in the street. I placed a sawhorse with a bright red towel to act as a warning flag in front of the skids.
Three pallets of bricks in the street:
Four pallets in the driveway:
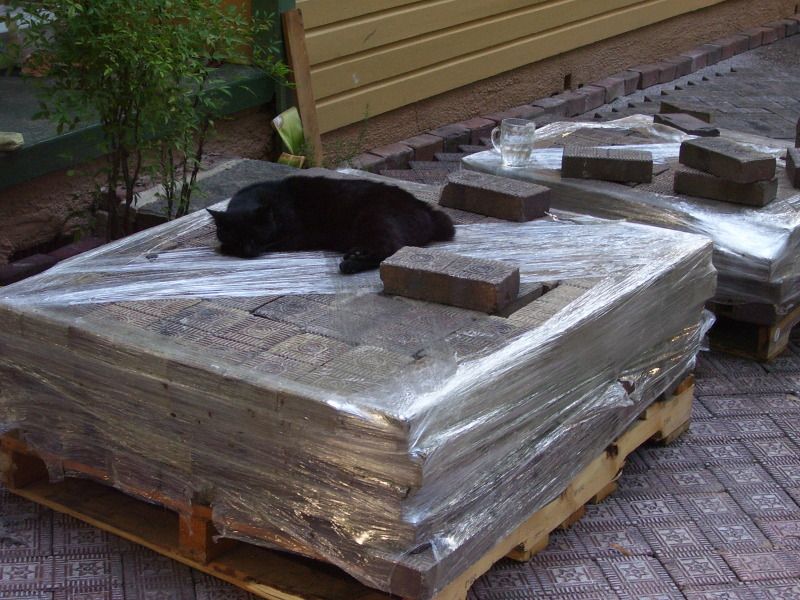
Stumpy has a new spot to relax:
After the last few U-Haul moves I have done, I don’t want to double and triple handle these bricks. They will be going right to the driveway from the pallets. It is just overwhelming to see all these bricks stacked all over.
This style brick looks best when laid in a “herringbone” pattern which is the bricks are viewed at being in 90° angles. To even up the sides, one brick needs to have a corner cut off to a end up as a ¾ brick. The remaining triangle piece fits in the opposite side which results in little waste. The largest skid of this shipment was of these “cut up” bricks. I don’t like to cut up good bricks, so having all this pre-cut brick is a godsend.
These bricks are in the 100 year old range. Many of them are far from perfect. The best ones I use where they will be most seen. The bad ones I use to where the defects will be hidden. The border bricks next to the house have the chipped edges placed where they will be hidden.
Since I have all this cut brick to play with I’ve decided to lay it all out in sections some 16 courses long divided by a straight line of bricks. Going in sections like this makes it easier to keep the bricks lined up. It is also a great way to use up the cut up brick to save the better whole bricks for other projects.
Cut up bricks:
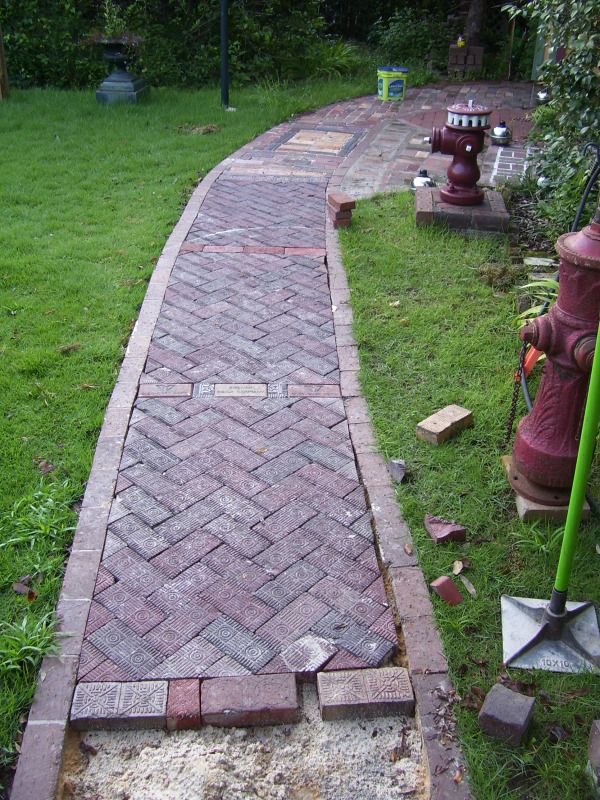
Showing the herringbone pattern and how the elements tie in:
Finalizing this plan, I will do a section a day so I don’t get burned out. I can feel that happening….
It was working with the old bricks I got the idea to work with “panels.” This job is so close to completion. I need to get it done up today along with mowing the lawn and some long neglected yard work.
The pictures pretty much say it all. I have been so exhausted these past few weeks. I can see things slowing down a bit to give me time to get caught up with the cleaning and personal life I have been ignoring. I apologize the pictures are not staged better. I think it is better to show how the work progresses than to have a "perfect" Kodak moment!
| Brick Project Winds Down | Wednesday, August 15, 2012 |
I am so tired of starting my journal entries with “I am so sore and beat up” but it is the truth. This past month of constant brick work and travel has taken its toll. I have been joking with my neighbors how “OCD” people should not be doing a job like this! I don’t know if I should call myself that as I have never been diagnosed, but friends who know me just laugh anyway and so do I! Life is so much easier when you can laugh at your self!

There is light at the end of the tunnel and I should be through cutting bricks up today. Having all the “pre-cut” ¾ and ¼ bricks was a godsend. The ¾ brick forms a straight edge on one side and the ¼ brick fills the gap on the opposite side to make a straight edge. This style brick was designed to be laid in a herringbone pattern and the brick plants sold bricks made in this configuration. You can tell as there is glaze all around the edges on these bricks.
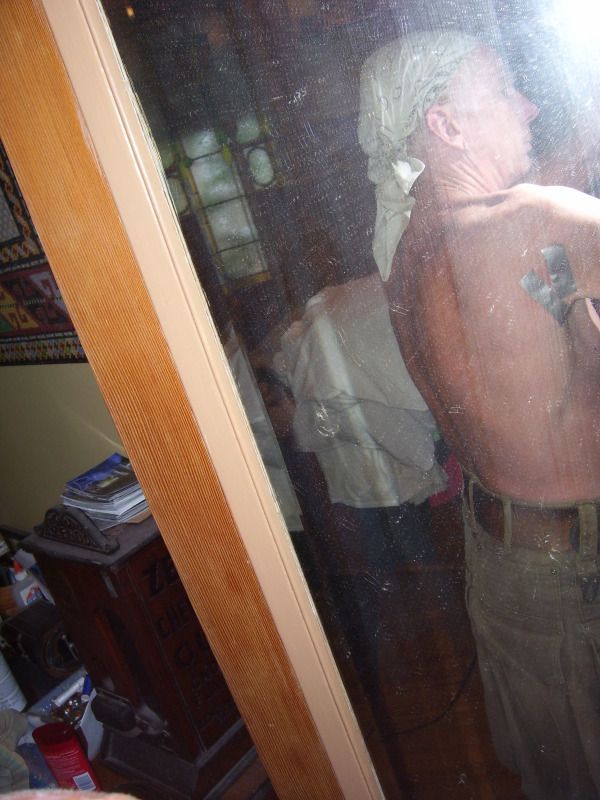
As much as I moan and groan it dawned on me yesterday how happy I have been these past few weeks cutting up and messing with this project. I have gotten this down to a science. I now power wash the top layer of bricks on the skid before loading them to the moving cart. I was doing this yesterday without thinking anything of it when out of the corner of my eye I realized this lady was transfixed across the street staring at me in disbelief. Here I was wearing my faded and beat up Utilikilt, do-rag, knee pads and safety glasses. This is my everyday outfit; I have more important things to fuss over than clothes…. I don’t realize how out of the ordinary this is to the outside world. I can’t wait to relay this tale to my dentist this morning in a couple hours!
I plan on doing up an entire entry on the different styles of bricks involved in this project.
The day is starting to lighten up. Let get some pictures taken to add to this and then I have to run. Once this project is over I will be taking it easy and will be getting caught back up….
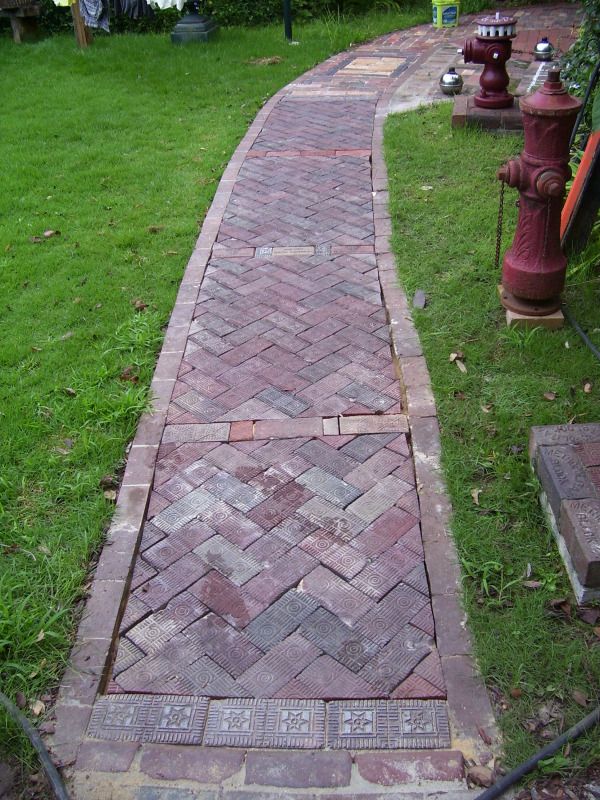
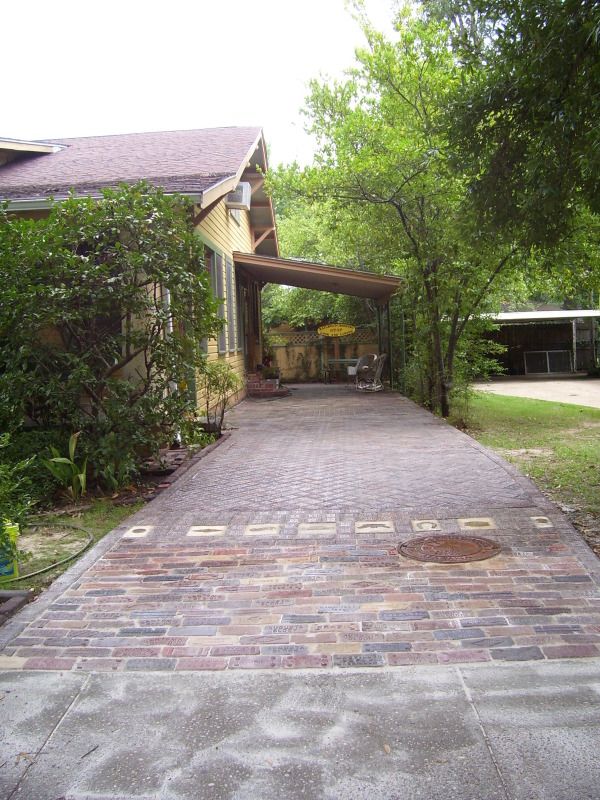
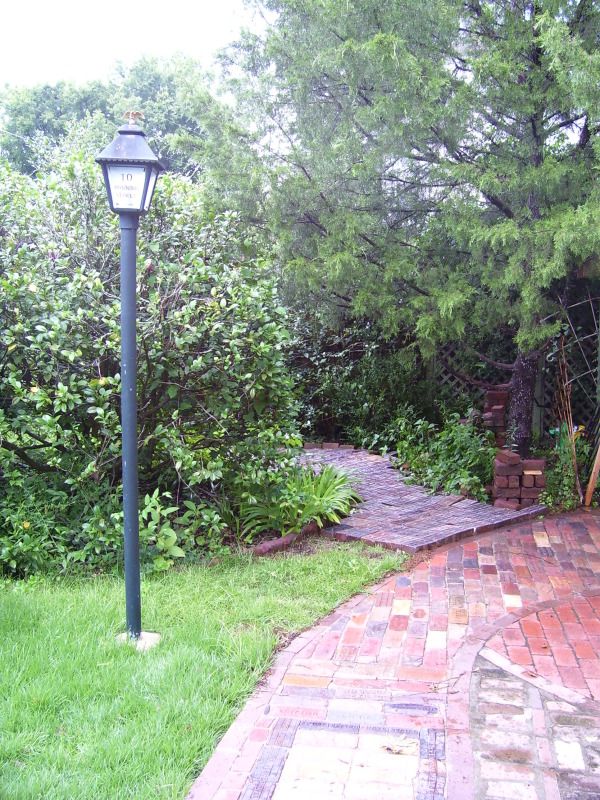
The walkway in back turned out so well. I’m very pleased with the results.
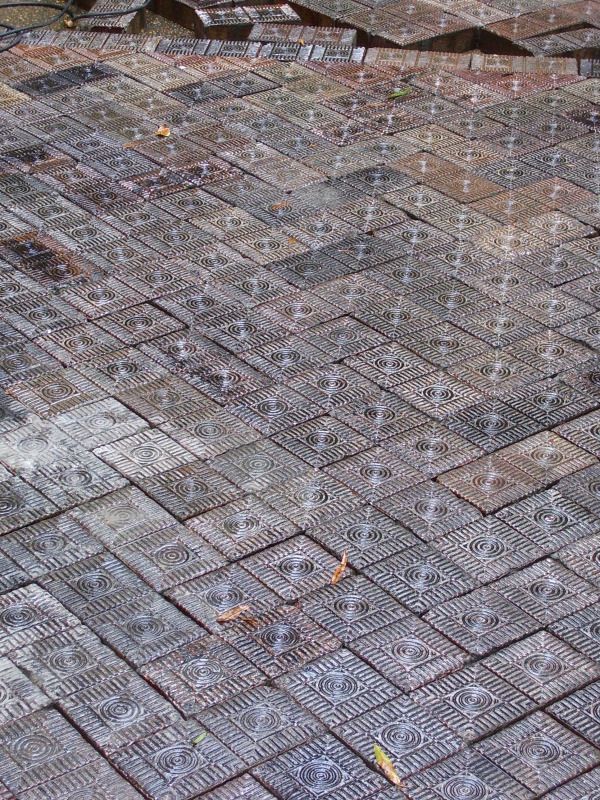
We had a rain and I realized how when these "Circle" bricks are wet the light is reflected to make “lines of light”. I posted this picture to my facebook page the other day. Years back everyday things could be magical…I miss those times.
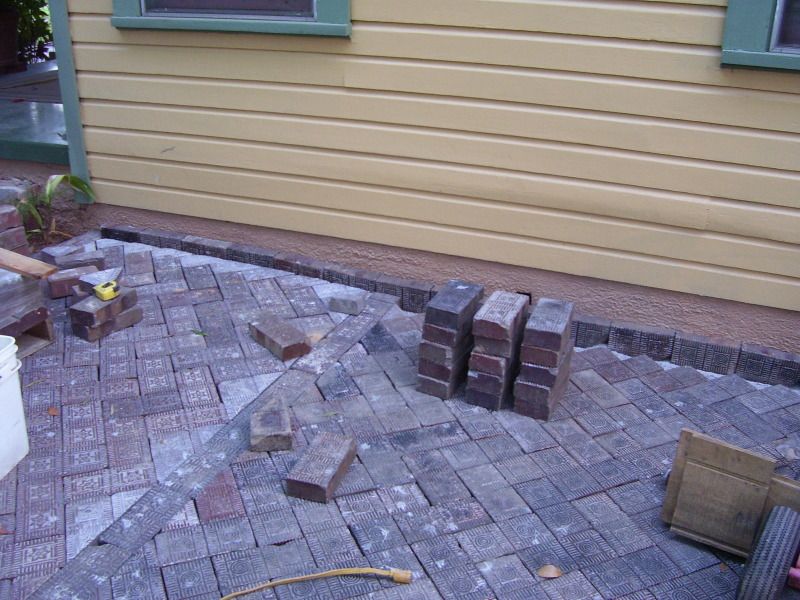
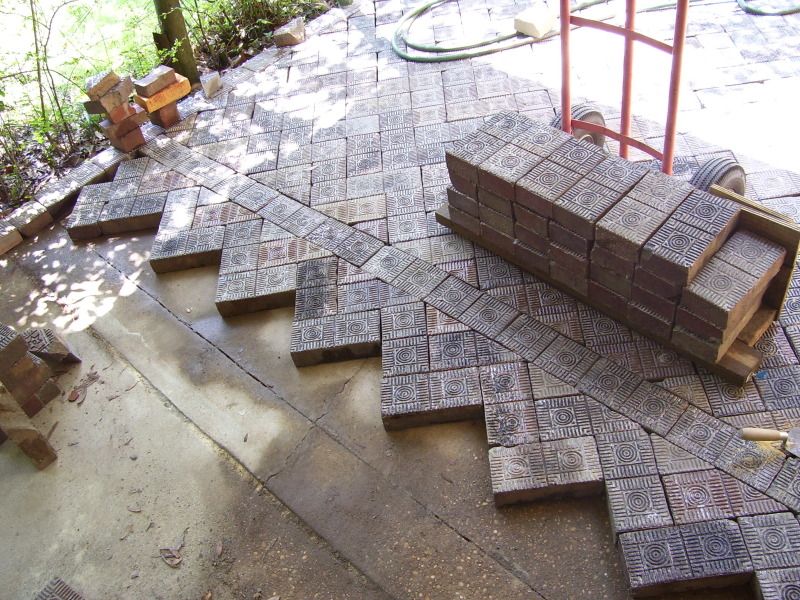
The beginning of a “section” showing how I move the bricks to the job. This shot is a great illustration how the ¾ and ¼ bricks all fit together
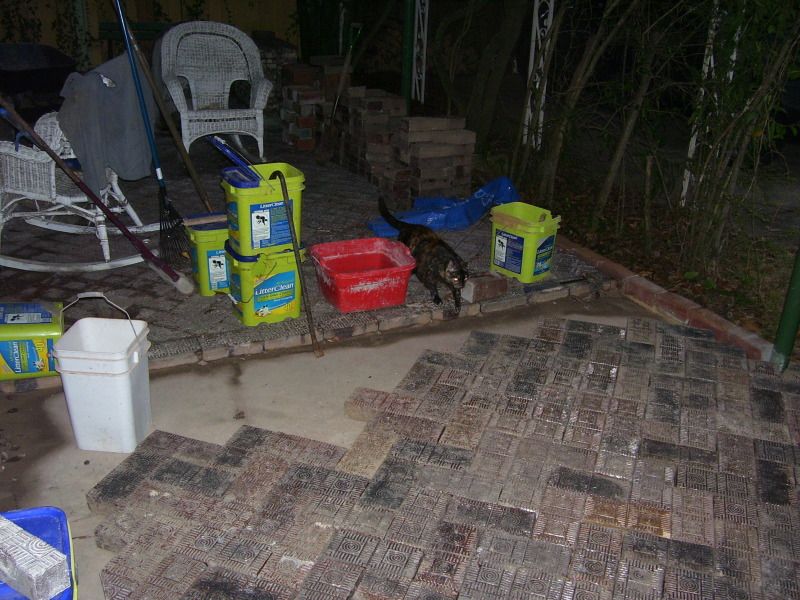
Just taken shot showing the different cuts needed to work around the back steps.
The last bit to be done. Dagney is inspecting the work so far!
| Rowing, Plumbing, Blood and Utilikilt | Saturday, August 25, 2012 |
The rowing club took out the “8” for the first time since May. A bunch of the ACC novice boys rowed with us.Tyler coxed. It took a bit to get used to his commands. After warm-ups we did rowing first rotating 6’s and then going to all eight. We stopped to rest by the Cyprus Inn. Tyler asked how far we wanted to row. After a few seconds of silence I piped up, “Let’s go to the steel mill!”
As a club we have not been rowing much distance. We had not rowed to the steel mill since the last Damn Row we did just before the tornado hit. The steel mill passed on our starboard side and we continued on past the new bridge. We spun the boat and rowed the entire way back all eights. I was in endomorphic heaven! I only got one fresh blister. We played around bumping the rates up. My legs were like rubber getting out of the boat. It has been too long since I’ve had such a grueling practice.
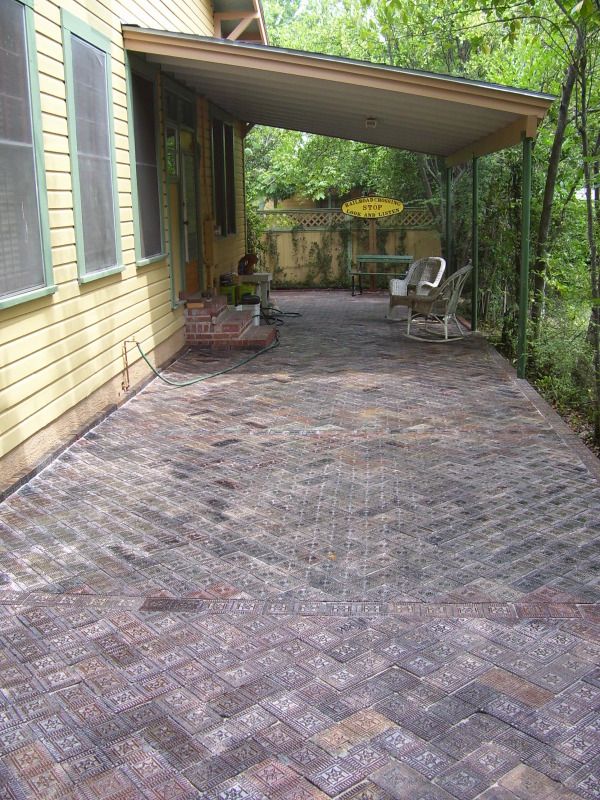
The driveway project is pretty well finished. This picture was taken after sweeping sand between the bricks for the third time and then soaking it all in this afternoon.
I had pulled a “Rhula” Wednesday afternoon. Rhula (aka Randy) is quite a piece of work. Years ago when AOL profiles were all the vogue, Rhula had “landscape architect” listed as one of his professions. Randy was mowing his lawn when the lawn mower died. He just left it there for weeks with the grass growing all around it. I had deserted my weed eater in the back, which jogged my memory to Rhula!
I’m so sick of stacking and moving bricks. There is an unused area in my backyard. I weed wacked the grass to the dirt and just laid the extra brick down. I can use this brick as a patio extension till I need the bricks. It is just weeds back here, so it is not like I’m sacrificing any good turf for the brick storage.
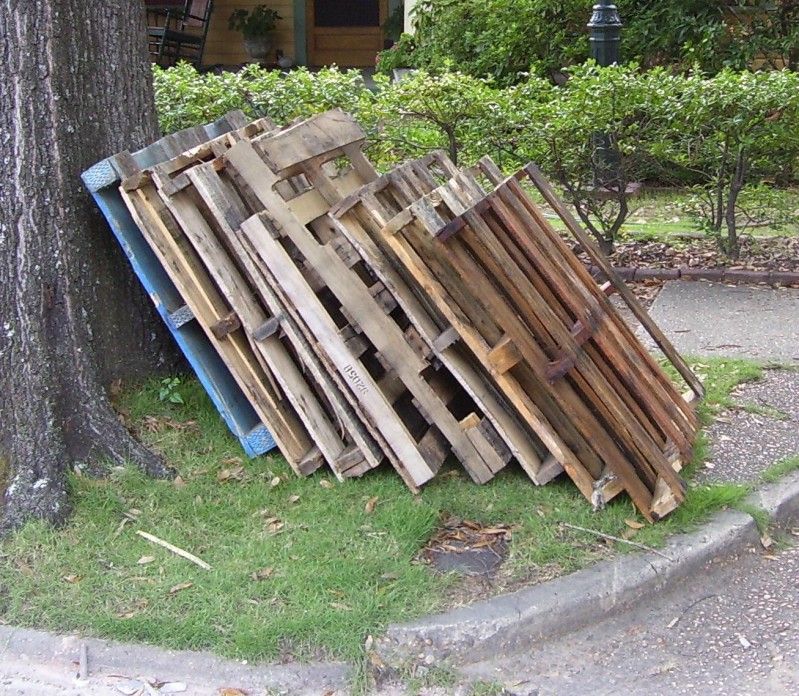
You have to love Craigslist. I had the eight skids which held the bricks to get rid of. I took a picture of the skids and posted a “free” listing for them. Within an hour a woman stopped by for them. Initially she wanted to try and load them into the trunk of her car. Talk about Mission Impossible: She lived just over the bridge in Northport, so I threw them onto the truck and carted them over for her. I was so glad to have them gone.
I have met some of the nicest people working this driveway project. Two UA students, Annie and Kevin stopped by to inquire about the different bricks I used in the driveway approach. Annie is originally from Athens , Ohio
There was plumbing work I needed to do to accommodate the new driveway. A faucet exited the basement pretty much at ground level. It needed to be extended up. Normally that would not be too bad of a project, but it entailed working in the crawlspace under the kitchen. Crawling around in that red clay hitting my head on the house beams and pipes in not something I enjoy.
Daggy was holding court and escorted me around the dirty crawlspace. With so much pipe exposed along the outside of the house, I needed to install a shut off so I can turn it off. Come January when the freezing temperatures cause the standing water to freeze and explode copper pipe, the aggravation installing the shut off will be more than paid off. The only problem is; the shut-off is in the crawl space. I was able to modify the shut off valve, and using some scrap copper pipe made up an extension I can use from the outside to open and close the valve.
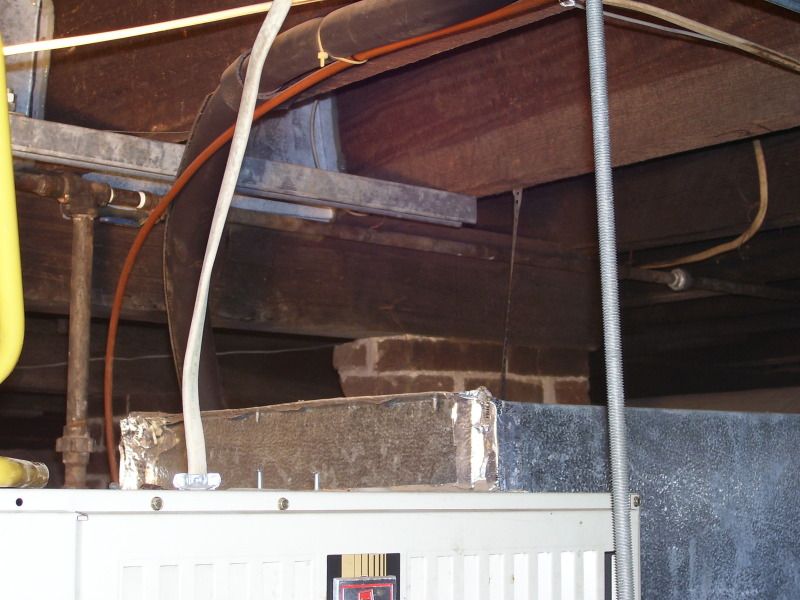
The new plumbing work alongside the house:
While I was in “shut-off” valve mode I installed a shut off for the faucets on the north side of the house. The run for those faucets is the last of the galvanized pipe in the house. I had the union and shut-off valve in my hoard of fittings. These all came from my dad. There was a remnant of some kind of valve that was frozen in the open mode with no handle. This run is right behind the furnace which is suspended from the ceiling, and too close to one of the main floor joists. I used the angle grinder to cut through the old existing valve. This is where the union will go. The pipe was cut and threaded as needed and reinstalled with the shut-off. This is why I hate working with old stuff. There were leaks that dripped no matter how tight I joined the pipe.
It all had to come apart and instead of pipe dope I used plenty of Teflon tape. I also used the tape to cover the union faces. That old trick worked and things have remained water tight.
This does not look like much. But the awkward location sure made it a nightmare.
On one of my last trips under the furnace my shoulder caught a sharp corner and gave me a good gash. DAMN! It bled out pretty well. Washed it all out and once it dried up I sealed it up with duct tape! Eventually the duct tape came off and now it is all nicely scabbed over.
Applying the duct tape!
While all this was going on the phone rang. I was bleeding and muddy. I’ve smartened up and carry the “walk around” phone in my Utiliklt pocket, so I can at least call out to 911 in case of an emergency while working alone. I answered and it was a survey call on the upcoming election. I’m sorry to say I lost it under the circumstances.
These past few months has taken a toll on my “everyday working Utilikilt”. It has gotten so frayed and stained even I feel self conscious wearing it out in public.
I always check E-bay for Utilikilts. My size rarely turns up for sale. A dark brown Workman’s Utilikilt in my size turned up for auction which ended Wednesday. It was listed as only being worn a few times and washed once. I put in a decent snipe and won the auction Wednesday night at 9:30 I did a “Pay-Pal” payment immediately. To cut to the chase, that Utilikilt was delivered at 12:30 this afternoon. To have this all happen so fast still impresses me so. I’m thrilled in the Utilikilt turned out to be even better in person over the listing pictures. Now I’ll rotate it in so my tan Utilikilt will now become my “everyday working” garment and this new brown one will be my “good everyday” one.


Symbiosis of the Human Living Machine and Nature through Intelligent Designvinyl fence colors
ReplyDelete