| | | Friday, September 03, 2010 |
It has been too long since I’ve worked on a watch. When you are working on a piece of machinery that is 100+ years old there is a lot that can go wrong.
This current gas light clock project is no exception. The major American watch manufacturers:
The highest grade
I tried my best to get a close up shot of this 12 size watch movement. The damasking on the movement is truly a work of art. It seems incredulous in this day and age such work went into producing a finish that usually never saw the light of day.
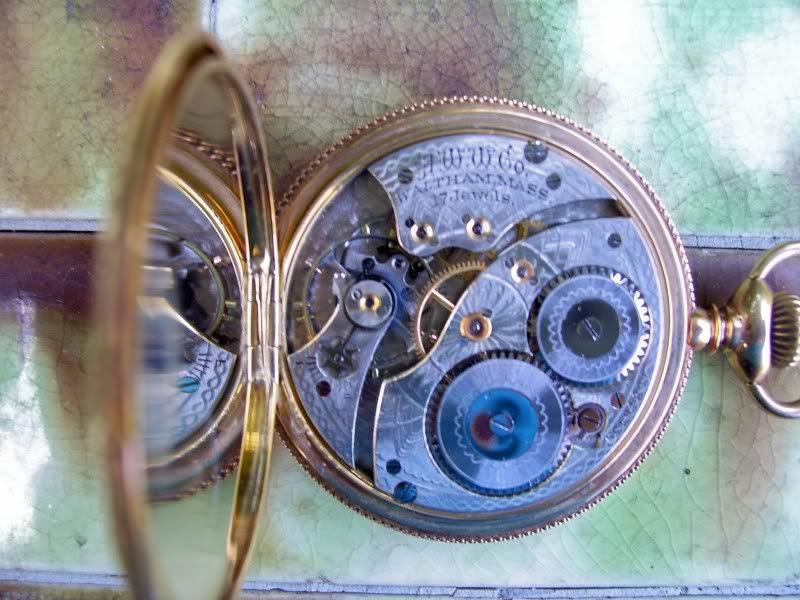
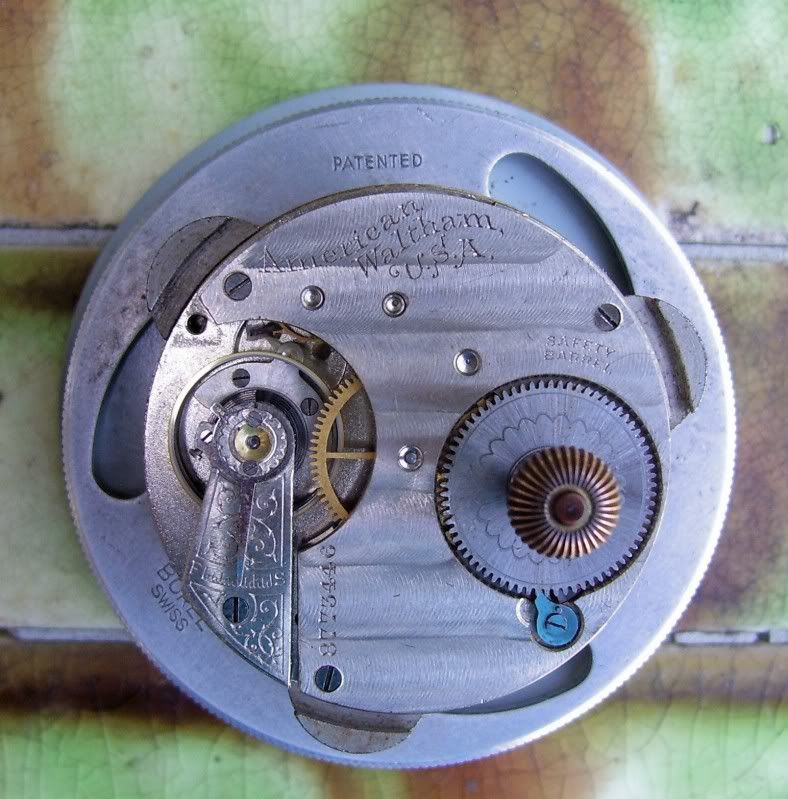
The Gas light clock is the next largest movement size #14. The finish on the parts and movement is quite a contrast to Uncle Jacks watch. This is a 7 jewel movement which was pretty much the lowest grade made by the major watch companies.
The lower balance hole jewel looked to be more of a train jewel and the cap jewel which sits over it looks like the jewel should be reseated. Setting jewels was one of my strong points when learning “general repair” back in the spring of 1971. But, I ‘m pretty certain this works ran with the parts as they are. I don’t need to be making work for myself. The mediocre quality of this piece does not warrant going all out.
The balance was set up and installed and it took right off. That is always a good sign. The steel hairspring had picked up some magnetism which hampered performance. A quick jolt on the demagnetizer fixed that problem.
The balance wheel has a good motion; all in all I’m pretty pleased in how it turned out.
I needed to replace the screws that hold the movement to the glass dial. Searching through my screw assortments I was able to dig up a couple case screws that were long enough. However I had to chuck these screws up in the lathe to turn the heads down to make a good fit into the countersunk brass washers.
The washers had a thin piece of rubber glued to the back which will act as a cushion against the glass. I have been wracking my brain for days on how to cushion the movement to the dial. You can’t glue it, but it needs to be tight so not to shift while winding. The metal against glass is very slick. This was a "novelty piece" that was not a regular production item. I don't think a lot of thought was put into it's original design.
Sorting through my phonograph parts I discovered a rubber diaphragm gasket for an
That problem solved I finished up working on the movement installing the cannon pinion. This is a hollow pinion that fits tightly over the center wheel that the minute is attached to. It does not fit tight enough. This was a real poor design expecting the thin pinion to grip the center wheel shaft tight enough to hold the heavy clock hand in place. I waxed up a piece of cotton thread and fished it through the pinion. Doing so pushed out a similar shim. Installing that assembly over the center wheel, I now have plenty of friction to hold the minute hand steady.
I’ll run the movement for a day or so before installing the works to the dial. The worst of the work is now done.
I just checked (5:33 p.m. 9/03/2010) and my fire hydrant left salt Lake City, UT and is on it’s way to Denver, CO.
* Saturday morning 5:28. Before posting this entry to E-blogger I checked on the progress of the fire hydrant... it is on it's way from Denver, CO to Memphis, TN .....


No comments:
Post a Comment